Newsletter
Receive upcoming articles and more straight to your inbox! We promise to never spam!
Eight Steps To Spring Cleaning Your Windows
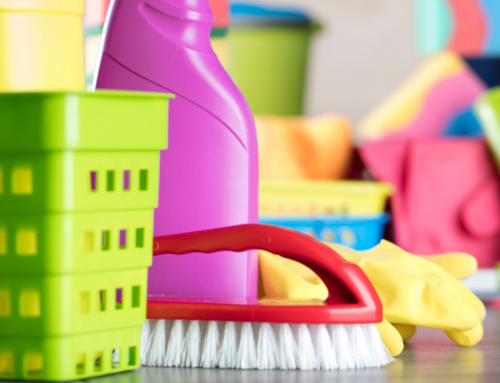
Many of us fail to properly clean our windows throughout the year because we only clean the window glass. This results in the other areas of our windows being left untouched, so they grow in more dust, webs, pollen, and more. To help keep our family healthy and our houses looking good, it is important to do a detailed window cleaning of your windows at least once a year. With this type of cleaning, you are cleaning your window frame, screen, blinds, and curtain/drape. The best time of year to perform a detailed cleaning of your windows is in the spring when the temperature is just right, and everything is just starting to come back alive outside. Cleaning your windows in the spring also helps keep your windows looking great throughout the whole summer. If you or someone in your house has allergies, it is even more important to ensure your windows are properly cleaned. Depending on the allergy type and severity, performing a detailed window cleaning twice a year or more may reduce your allergy symptoms. Find a day that you allows you enough time to clean all your windows of your home, then follow the steps below: Eight Steps To Spring Cleaning Your Windows
- Carefully remove your screens from each of your windows. As you remove each screen, you can use a marker to write the location of the window that the screen came from on the frame of the screen. This will help reduce the amount of time it takes to reinstall your screens after you are done.
- Lay the screens one at a time on a towel and use your vacuum attachment to gently vacuum off any debris, like webs, dust, and pollen from each side of the screen.
- Carefully mix a ¼ cup of all-purpose cleaner and a ½ gallon of water into a bucket to create your screen cleaning solutions.
- Place each screen in an upright position then gently wash each side of the screen working from the top to the bottom using a sponge or microfiber cloth that has been soaked in the screen cleaner.
- Right before your soap begins to dry on the screen, use your hose (set at low pressure) to rinse each side of the screen. Do not use any hose with a high-pressure nozzle to clean your screen, as you will risk breaking your screen. If you don’t have a hose, you can set your screen in your bathtub, then use your bathroom shower head (set to gentle) to rinse each side of the screen.
- Use a dry towel to gently absorb any excess water from each of the screens, then leave the screens to air dry outside.
- While your screens are drying, complete the following tasks to prepare each of your windows for the clean screens to be reinstalled:
- Remove any curtains from your windows and wash as directed on their label.
- Dust and wipe down your blinds while the blinds are down and open. If you have any stains or spots on the blinds, wipe the blinds using a cleaner that is meant for your type of blinds (plastic, wood, etc.).
- When your blinds pulled up, dust and wipe down your window frame and seal using an all-purpose cleaner.
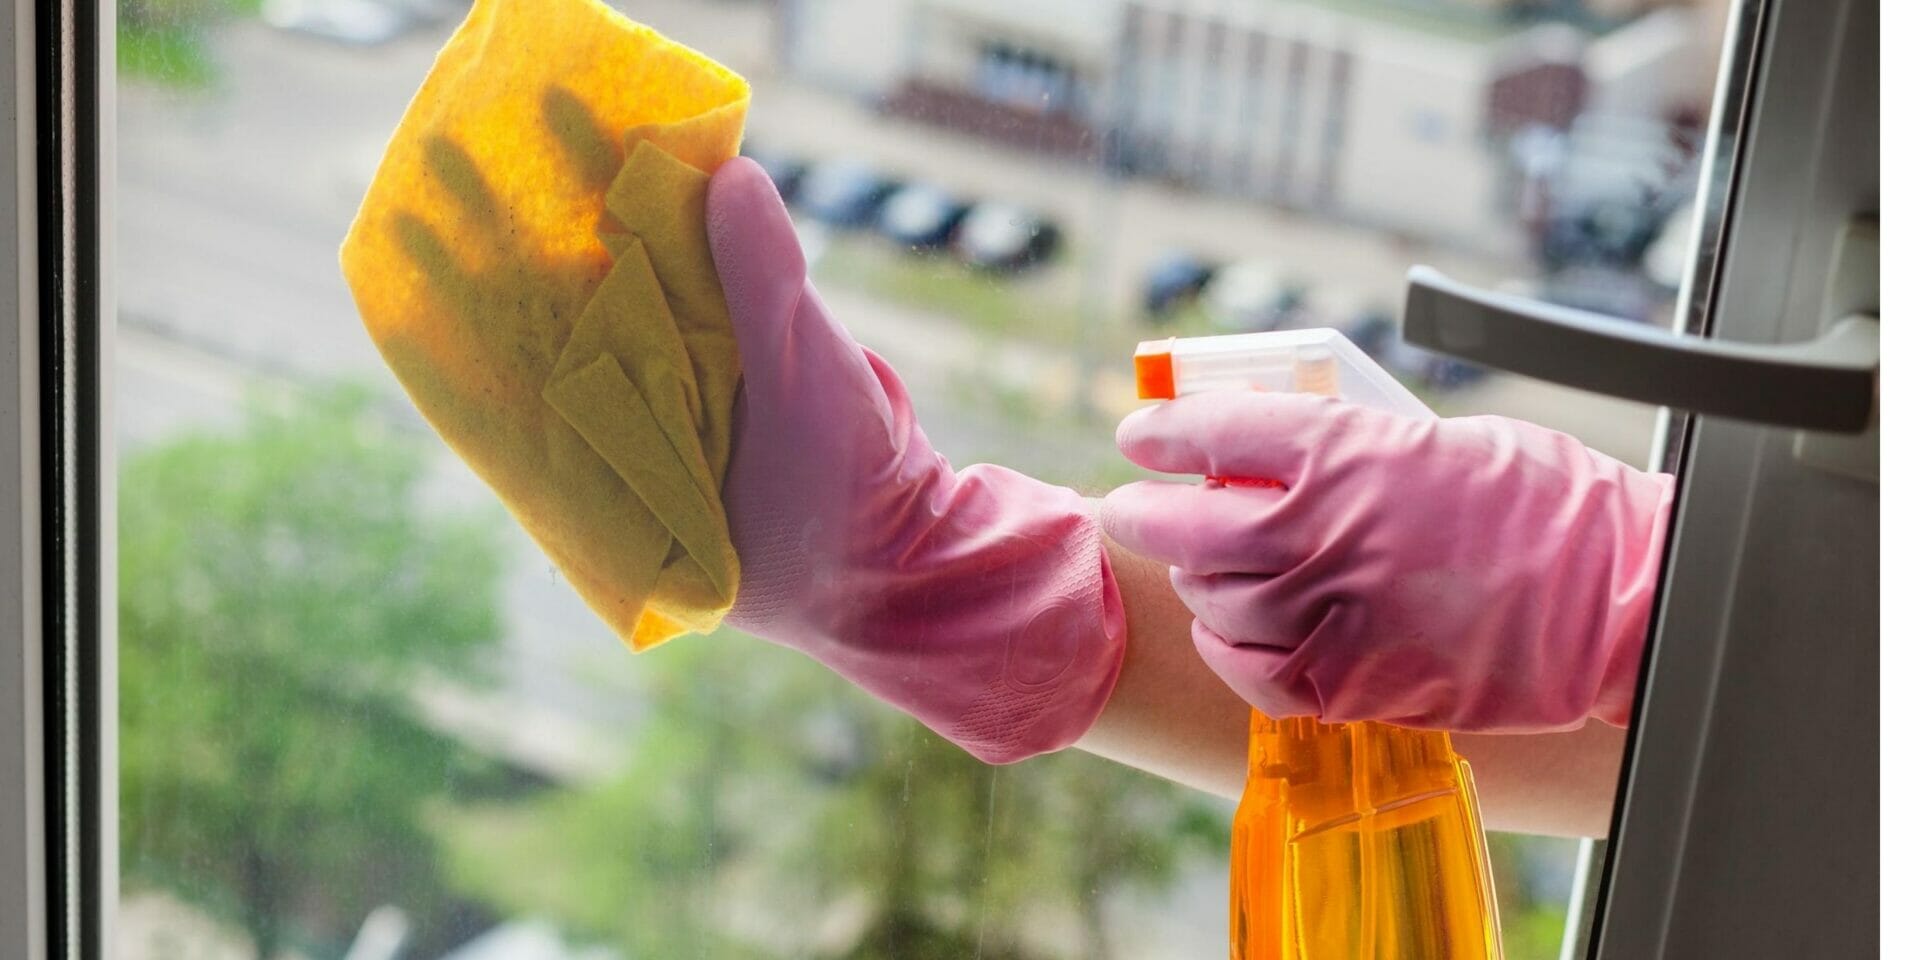
- Spray and wipe down the inside and outside of your window glass. Only clean the outside glass of the windows that you can safely reach.
- Once the screen(s) are dry, you can reinstall the screen(s) to each window.
To help maintain your windows between detailed cleanings, use a vacuum extension to gently remove any dust and pollen with the windows still installed, then wipe down the window glass and surrounding areas. This helps your windows stay clean much longer. Always remember These eight steps to spring cleaning your windows can also be used to ensure any glass doors with screens in your home are properly clean in your home that has glass and screens. With homes being built every day with more advanced features, make sure to pay attention to the material you are working for the window or door. The last thing you want is to damage them because you used a type of cleaner you shouldn’t have during the cleaning process. If you are having trouble removing the screen from any of your windows, you can find helpful videos on YouTube showing how to remove the screen based on your type of window. Check out these videos all about removing screens from your windows: https://www.youtube.com/results?search_query=how+to+remove+a+screen+from+your+window